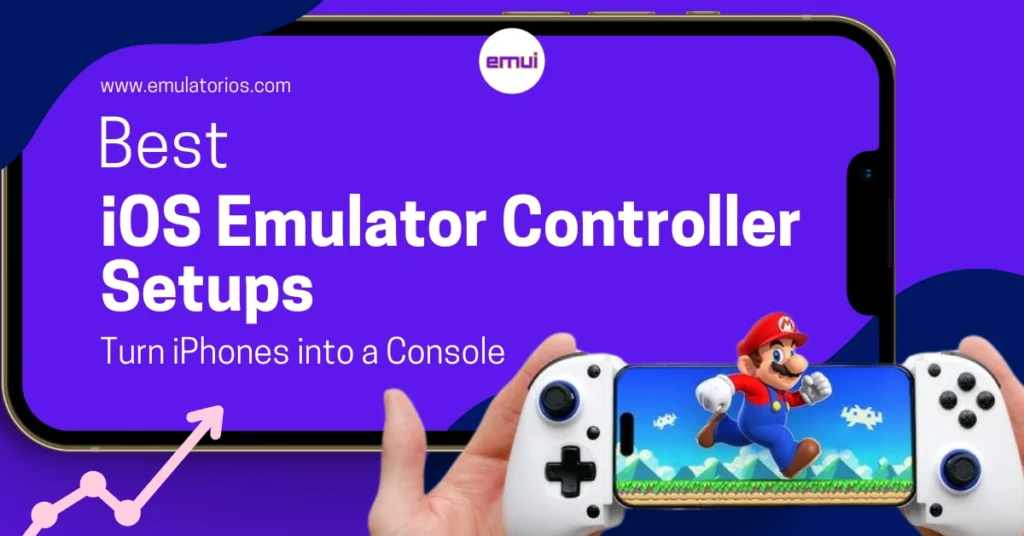
Intro Hook
Have you ever held your iPhone and thought, “If only this could feel like a real handheld console”? That was me the first time I tried playing Pokémon on Delta with just the on-screen buttons. My thumbs were cramped, the screen felt crowded, and the nostalgia wasn’t quite as magical.
Then I paired a real controller and boom. Suddenly, my phone felt like a tiny Nintendo Switch or a pocket PlayStation. If you’ve been curious about making your iOS emulator experience smoother, this guide is exactly what I wish I had when I started.
We’ll go through the best controller setups I’ve personally tried or tested, the pros and cons of each, and a few tips so your iPhone really can become a mini console.
What Are iOS Emulators & Why Controllers Matter
Let’s start with the basics. In plain language, an iOS emulator is an app that mimics the environment of an older console like the Game Boy Advance, SNES, or PlayStation Portable so you can play those classic games on your iPhone or iPad.
Big names you’ve probably seen include Delta, RetroArch, and PPSSPP. These apps themselves are perfectly legal as long as you supply your own game backups.
The problem? On-screen controls. They’re fine for a quick nostalgia hit, but for anything longer than a few minutes, they can feel awkward.
Your thumbs cover half the screen, precision drops, and sliding across glass just isn’t the same as pressing a real button.
That’s why controllers matter. Over the last few iOS updates, Apple has quietly opened the door to proper gamepad support.
MFi (Made for iPhone) controllers were the first wave, but now even regular Bluetooth pads, Xbox, PlayStation, and 8BitDo work seamlessly. With the right setup, your iPhone or iPad really does behave like a mini console.
Best Controller Setups for iOS Emulators
Here are five beginner-friendly yet powerful controller options. For each, I’ll break down the key features, pros, cons, price range, and a quick setup guide.
1. Backbone One (Lightning or USB-C)
The first time I slid my iPhone into the Backbone One, I couldn’t stop smiling. It clamps around your phone, so the whole thing feels like a Switch, no extra stand or clip needed.
Pros
- Integrated design: phone + controller = one handheld unit
- Direct connection (Lightning or USB-C) means lower latency
- Comfortable analog sticks for long sessions
Cons
- iPhone-only; not ideal if you also game on iPad or Apple TV
- More expensive than clip-style mounts
Price Range: ~US$99–$120
Compatibility: Works with most modern iPhones; officially supports MFi and App Store games as well as emulators like Delta.
Setup Steps: Slide your phone in, launch your emulator, and it’s instantly recognized, no Bluetooth pairing required.
2. Xbox Wireless Controller (Series X|S or One)
If you already have an Xbox, this is the most cost-effective choice hands down. Apple added native support for these controllers back in iOS 14.5, and it remains rock-solid on iOS 17 and 18.
Pros
- Widely available, durable build
- Familiar layout with excellent triggers
- Works with iPhone, iPad, and even Apple TV
Cons
- Needs a phone clip for handheld play
- Uses AA batteries unless you buy a rechargeable pack
Price Range: ~US$50–$70
Compatibility: iOS 17/18 fully supports Xbox Series X|S and Xbox One controllers.
Setup Steps:
- Hold the pairing button until the Xbox logo blinks.
- On your iPhone, go to Settings > Bluetooth, tap the controller.
- Open your emulator (Delta, RetroArch) and map the buttons if needed.
Tip: Invest in a sturdy phone clip so you can snap the controller and iPhone together for portable gaming.
3. PlayStation DualSense (PS5) Controller
Sony’s DualSense feels like a luxury gadget with adaptive triggers, haptic feedback, and a smooth D-pad that’s perfect for retro titles.
Pros
- High-quality build, comfy grips
- Adaptive triggers are supported in some App Store games
- Rechargeable via USB-C
Cons
- Slightly heavier than other pads
- Advanced haptics are not fully used in emulators
Price Range: ~US$60–$80
Compatibility: iOS 14.5+ supports DualShock 4 and DualSense; iOS 17/18 improves stability and button mapping.
Setup Steps: Press PS + Create until the light bar flashes, then pair in Bluetooth settings just like AirPods. After pairing, open your emulator and tweak the input layout if you want that authentic PlayStation feel.
4. 8BitDo SN30 Pro / Pro 2
If you love retro aesthetics but still want modern features, 8BitDo is a dream. I used an SN30 Pro with Delta for SNES titles, and it felt incredibly authentic, like holding my childhood again.
Pros
- Retro look + modern triggers
- Customizable button mapping via the 8BitDo app (Mac/PC)
- Works with multiple platforms (Switch, PC, Android, iOS)
Cons
- Needs occasional firmware updates for iOS
- No built-in phone holder (buy separately)
Price Range: ~US$45–$60
Compatibility: iOS 16+ (and each update makes it better).
Setup Steps: Hold Start + B (or the designated combo) for iOS mode, then pair via Bluetooth. Map buttons in your emulator if required. If you’re switching between platforms often, save multiple profiles in the 8BitDo software.
5. Razer Kishi V2
Think of the Razer Kishi V2 as the Android/iOS gaming powerhouse. Like the Backbone, it creates that full handheld console form factor.
Pros
- Direct USB-C connection (low latency)
- Pass-through charging while you play
- Compact foldable design for travel
Cons
- Premium price
- Slightly bulkier than Backbone One
Price Range: ~US$99–$120
Compatibility: Works with most modern iPhones and iPads via USB-C; check Razer’s device list before you buy.
Setup Steps: Slide your phone in, open your emulator, and it appears as a standard controller. You can even keep charging while gaming super handy for long sessions.
(Optional: This is where you can insert any other controllers you’re considering or affiliate links for your blog.)
How to Connect & Configure Controllers on iOS
Pairing a controller on iOS now feels as easy as pairing AirPods. Here’s the quick version:
- Turn on pairing mode on your controller (look for a blinking light).
- Open Settings > Bluetooth on your iPhone/iPad.
- Tap the controller when it appears in the list.
- Launch your emulator (Delta, RetroArch, PPSSPP).
- In emulator settings, open Input or Controller Mapping and assign buttons if needed.
Power-user tip: Delta automatically detects common controllers, while RetroArch may need manual mapping but gives you more flexibility with macros, turbo buttons, and multiple profiles.
Accessories to Enhance Your Mobile Gaming
Even the best controller can feel incomplete without the right extras. A few I’ve tried and liked:
- Phone clips/mounts (e.g., 8BitDo or PowerA) to hold your iPhone above your controller
- Portable stands if you prefer tabletop gaming
- Long USB-C/Lightning cables for wired play and charging
- Travel cases to protect your controller and phone on the go
These small additions can turn a “pretty good” setup into an “I never want to go back to touch controls” setup.
FAQs
Q: Do I need to jailbreak to use controllers with emulators?
No. iOS 14.5 and later support the most popular controllers natively. Apps like Delta detect them automatically.
Q: Will these controllers work with App Store games too?
Yes. Any game marked “Controller Supported” in the App Store will recognize MFi and most Bluetooth controllers.
Q: Can I remap buttons for each emulator?
Absolutely. Each emulator has its own Input settings, perfect for matching classic console layouts.
Q: What about lag?
Wired or direct-connection controllers (Backbone, Kishi) have the lowest latency. Bluetooth controllers are fine for most retro games, but may show slight lag in very fast action titles.
Q: Are ROMs legal?
Emulators are legal, but you should only use game backups you legally own.
Final Thoughts
Turning your iPhone into a pocket console isn’t just a gimmick; it genuinely changes how you experience retro games. Start with what you already have (maybe an Xbox or PlayStation controller) to test the waters. Once you feel the difference, you can step up to a dedicated option like the Backbone or Razer Kishi for that full handheld experience.
Your next step? Pick one controller from this list, connect it to Delta or RetroArch, and play your favorite classic. Once you feel real buttons under your thumbs, you’ll understand why so many of us never go back to on-screen controls.